
technique for putting everything together differs depending on who you're reading/watching... a lot... This is by far
the best process for making this pizza crust and has been the only one that has given me first time success. Because
this is a bit involved, I've done more than my usual and included lots of photos and descriptions...
First things first, pre-heat your oven to 400 and collect your ingredients. For this you'll need the following:
- 1 1/2 cups almond flour
- 1 tsp xanthan gum
- 1/4 tsp salt
- 1/4 tsp black pepper
- 1/4 tsp dried oregano
- 1/2 tsp dried garlic
- 2 tsp baking powder (grain & aluminum free
- 1 large egg
- 1 oz cream cheese (at room temperature)
- 2 cups mozzarella cheese
For tools you will need:
- A large pot
- A metal bowl
- Spatula
- Whisk
- Cooking glove
- Rolling pin
- parchment paper


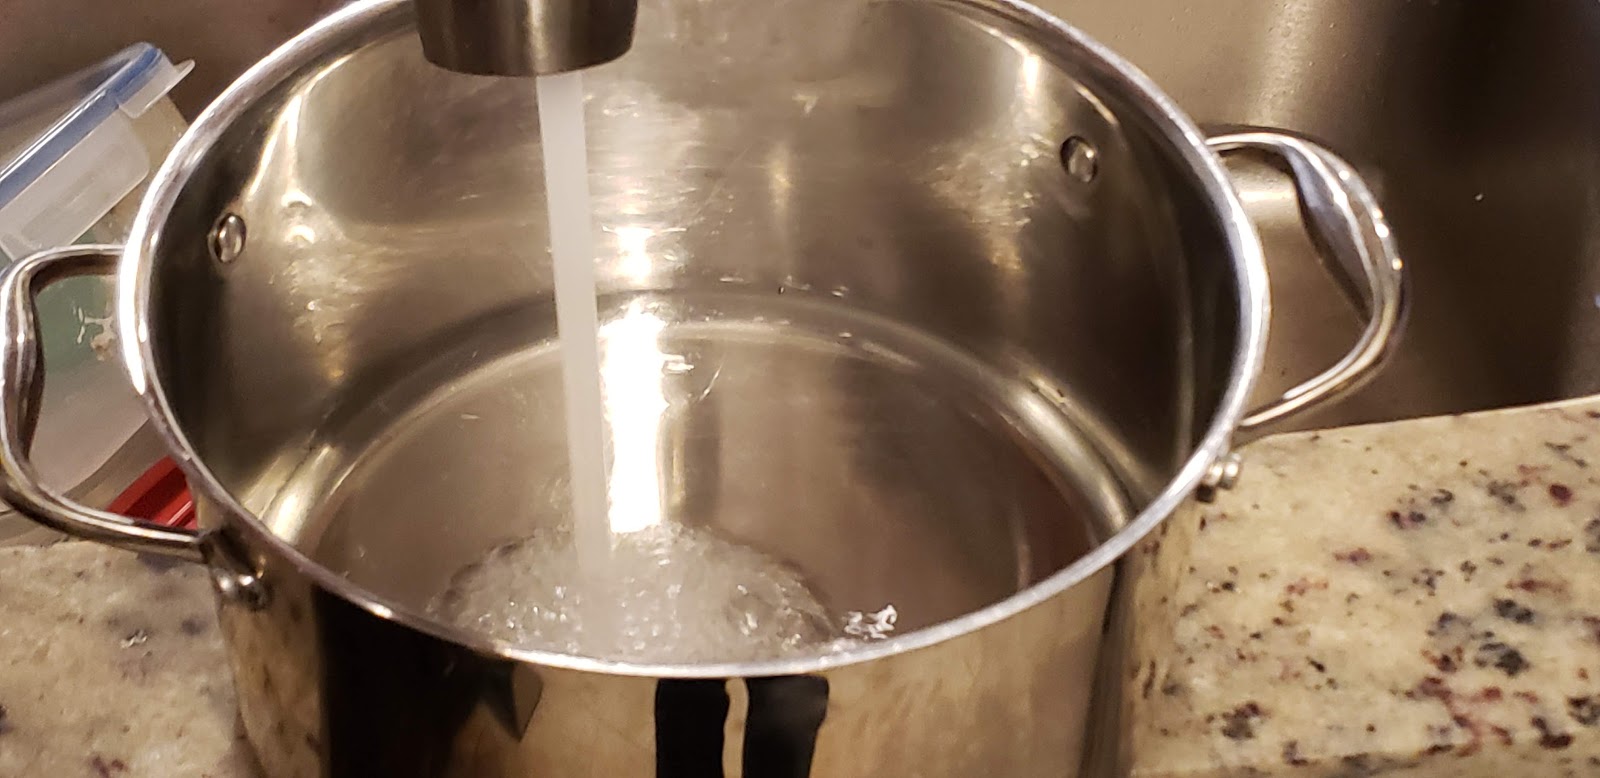
Next, add 2-4 inches of water to the large pot. Get it on the stove top on high heat. While the water is heating up, you'll start mixing the ingredients. However, once the water starts to boil, you'll want to set the heat to medium.
Next, mix all the dry ingredients in the metal bowl. Once well combined, add the egg.

Mix the egg in well and you should end up with something that has the consistency of wet, clumpy sand... Once you have that consistency, stir in the mozzarella and cream cheese.

With the mozzarella and cream cheese in, put the bowl on top of the boiling water. You'll then need to use the spatula to mix everything together. Be sure to continually mix until you get a solid dough ball. Depending on how hot the water is this could take 1-5 minutes. ***Note: remember to use something to cover your hand while holding the bowl because it's going to get hot! When done, you should have a solid ball of dough


Turn the dough out onto the parchment paper. At this point you can either choose to use it as is and make one large pizza with about eight slices, or two small, personal pizza's with four slices. Whichever you decide, place a second piece of parchment paper on top of your dough ball and roll it out.


What I like to do is roll up the edge so a) have something to grab onto; and b) have something to hold the sauce in.

Next, get your dough in the oven for 10 minutes, without toppings. Personally, I prefer cooking pizza on a stone, but you can use whatever you have at your disposal.

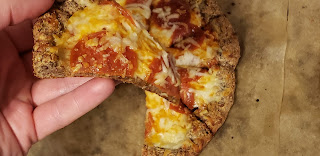
After 10 minutes, pull out your crust and get topping! As shown, I have a standard pepperoni and BBQ chicken (yes, there are low-carb, keto friendly BBQ sauces)...


Place the topped pizza's back in the oven and cook for another 10-15 minutes (or until your desired done-ness). Once cooked, let them sit for a few minutes. This allows the cheese in the crust some time to harden and makes it easier to hold like a normal pizza.

Enjoy!
Ingredients:
- 1 1/2 cups almond flour
- 1 tsp xanthan gum
- 1/4 tsp salt
- 1/4 tsp black pepper
- 1/4 tsp dried oregano
- 1/2 tsp dried garlic
- 2 tsp baking powder (grain & aluminum free
- 1 large egg
- 1 oz cream cheese (at room temperature)
- 2 cups mozzarella cheese
Instructions:
- Pre-heat your oven to 400 and collect your ingredients
- Add 2-4 inches of water to the large pot. Get it on the stove top on high heat. While the water is
heating up, you'll start mixing the ingredients. Once the water starts to boil, you'll want to set the
heat to medium. - Mix all the dry ingredients in the metal bowl. Once well combined, add the egg.
- Mix the egg in well and you should end up with something that has the consistency of wet, clumpy sand
- Stir in the mozzarella and cream cheese. Then set the bowl on top of the pot of boiling water.
- With everything in and over the boiling water, use the spatula to mix the dough continually. You will
need to do this until everything forms one uniform ball - Turn out onto the parchment paper and kneed a few times.
- Roll to desired thickness and shape for the pizza.
- Fold over the edge to give it a crust.
- Bake in the oven, without toppings for 10 minutes
- Pull out your crust and add the toppings to your liking
- Put it back in the oven and bake for another 10-12 minutes
- Once done, let the pizza sit for a few minutes before cutting in and serving. This allows the cheese in
the crust to harden a bit and prevents it from breaking.
Nutrition Facts Total:
2,731 calories, 219g fat, 58g carbs, 38g fiber, 20g net carbs, 184g
protein
2,731 calories, 219g fat, 58g carbs, 38g fiber, 20g net carbs, 184g
protein
Nutrition Per Slice (without toppings):
314 calories, 27g fat, 7g carbs, 5g fiber, 2g net carbs, 23g protein
314 calories, 27g fat, 7g carbs, 5g fiber, 2g net carbs, 23g protein
Comments
Post a Comment